Wednesday, May 11, 2011

Thick and Chewy Chocolate - Chocolate Chip Cookies


Yesterday was indeed National Chocolate Chip Day and I had to bake something! I had these limited edition mini morsels in my cabinet in the colors pink and yellow had been wanting to use them. I picked them up from target around the end of April (in case you are wondering where I found them). 


I immediately thought of some yummy thick and chewy chocolate chip cookies. I have tried this recipe before here and it came out pretty good. I decided to try it again and see if they could be a little thicker and a little more chewy - with out having to microwave them to make softer and gooey. So I followed the same recipe only not splitting the dough in half to make 2 different flavors. And I added about 3 1/2 tbsp of Hershey's Dark Chocolate Cocoa Powder. 

As you are working with the dough, warm hands cause the dough to get loose and melt some. So I used a metal pan for my final mixing pan and put it in the freezer for a few to keep it cold and from melting. This works a lot better when trying to get them thick and chewy. I went to place them on the pan, I followed the directions for rolling into a ball, then I came back around and made them tall balls. Then threw the whole pan in the freezer to make them stiffer.

 You let them bake at 325 degrees (I did 300 because of my darker pans) for 11 - 14 minutes. I recommend 12 1/2 minutes. When they come out of the oven, they look so delicious. I could tell these were going to be better than when I made them the first time. It will be really hard not to eat an entire pan that is still fresh and warm :-)


 They came out perfect. After cooling completely the chocolate chips are still soft and gooey and the whole cookie is thick and chewy! Love it!!


Here is the recipe:

Thick And Chewy Chocolate Chip Cookies

Ingredients
2 cups plus 2 tbsp. all-purpose flour
½ tsp. baking soda
½ tsp. salt
12 tbsp. unsalted butter, melted and cooled until warm
1 cup brown sugar, packed
½ cup granulated sugar
1 large egg plus 1 egg yolk
2 tsp. vanilla extract
1 ½ cups semi-sweet chocolate chips

Directions
Adjust oven racks to upper and lower-middle positions.  Preheat oven 325°.  Line two cookie sheets with parchment paper.

Whisk dry ingredients together in a medium bowl; set aside.  With electric mixer, or by hand, mix butter and sugars until thoroughly combined.  Beat in egg, yolk, and vanilla until combined.  Add dry ingredients and beat at low-speed just until combined.  Stir in chocolate chips.

Roll a scant half-cup of dough into a ball.  Holding dough ball in fingertips of both hands, pull apart into two equal halves.  Rotate halves 90 degrees and, with jagged surfaces facing up, place formed dough onto cookie sheet, leaving ample room between each ball. As you are working with the dough, warm hands cause the dough to get loose and melt some. So I used a metal pan for my final mixing pan and put it in the freezer for a few to keep it cold and from melting. This works a lot better when trying to get them thick and chewy. I went to place them on the pan, I followed the directions for rolling into a ball, then I came back around and made them tall balls. Then threw the whole pan in the freezer to make them stiffer.  Bake, reversing position of cookie sheets halfway through baking, until cookies are light golden brown and outer edges start to harden yet centers are still soft and puffy (approximately 11-14 minutes).  Do not over bake.

Cool cookies on sheets until able to lift without breaking.  Transfer to a wire rack to cool.
What I did differently, in RED

Sources: Found on Annie's Eats and adapted from Baking Blonde, original from Baking Illustrated


Monday, May 2, 2011

{Royal Wedding} The Cake

Oh my goodness, did you watch the wedding on Friday?! I was literally GLUED to the TV and enjoyed every moment of it. William and Kate are such a beautiful couple. Its so funny that her real name is Catherine with a "C" and she spells Kate with a "K" of course. I thought I was the only one that did that. ( Crystal and spell my nickname with a K - Krissy)

Anywho, there were two main parts that I was DYING to see! That would be the CAKE and her wedding Dress of course! That cake was absolutely magnificent - all the details that went into it. I know that took a good eye and patience to create! Being a caker myself, I can appreciate that beautiful, intricate design. I love how there was 4 sets of tiered cakes on the bottom first 3 tiers. One of those tiered sets would have been my wedding cake. So if you add all those up there would be a total of 21 tiers!!! Wow!

I would have flipped out to be designing a cake for a Prince and Princess, knowing that the Queen would be at the event also. I have to give it to these talented ladies for really holding it together and creating a masterpiece!

For Kate's dress, it was gorgeous!!! Not too long of a train, very form fitting at the top and just extremely ELEGANT! She was amazing. The whole car ride to the ceremony, she just seemed so relaxed and calm. She is such a natural Princess! Congratulations to the newest Royal Couple!

I am still OBSESSED with this wedding and would love to watch it over and over again.

Hope you have a fabulous day!

Wednesday, April 20, 2011

{Sweet Treats} Easter Pails


The Sweet Treats Easter pails are ready to sell! They are so cute and the perfect addition to any Easter basket. Great for kids, family, co-workers, etc. Who wouldn't love getting to custom gourmet treats on Easter? Each pail comes with 1/2 a dozen treats - Marshmallow pops or pretzel sticks.

 Purple Dipped Marshmallow pops with white drizzle
Pretzel sticks - orange with white drizzle
 Marshmallow pops dipped in yellow candy and topped with Easter sprinkles. YUM!!

Each Pail is ONLY $10.50. Get them while supplies last!!!!

Brownie/blondie and cookie pails are made to order and can definitely be created as a Sweet Treat Pail. Just let me know!

Local ONLY! Sorry, I don't ship at this time.

Thursday, April 14, 2011

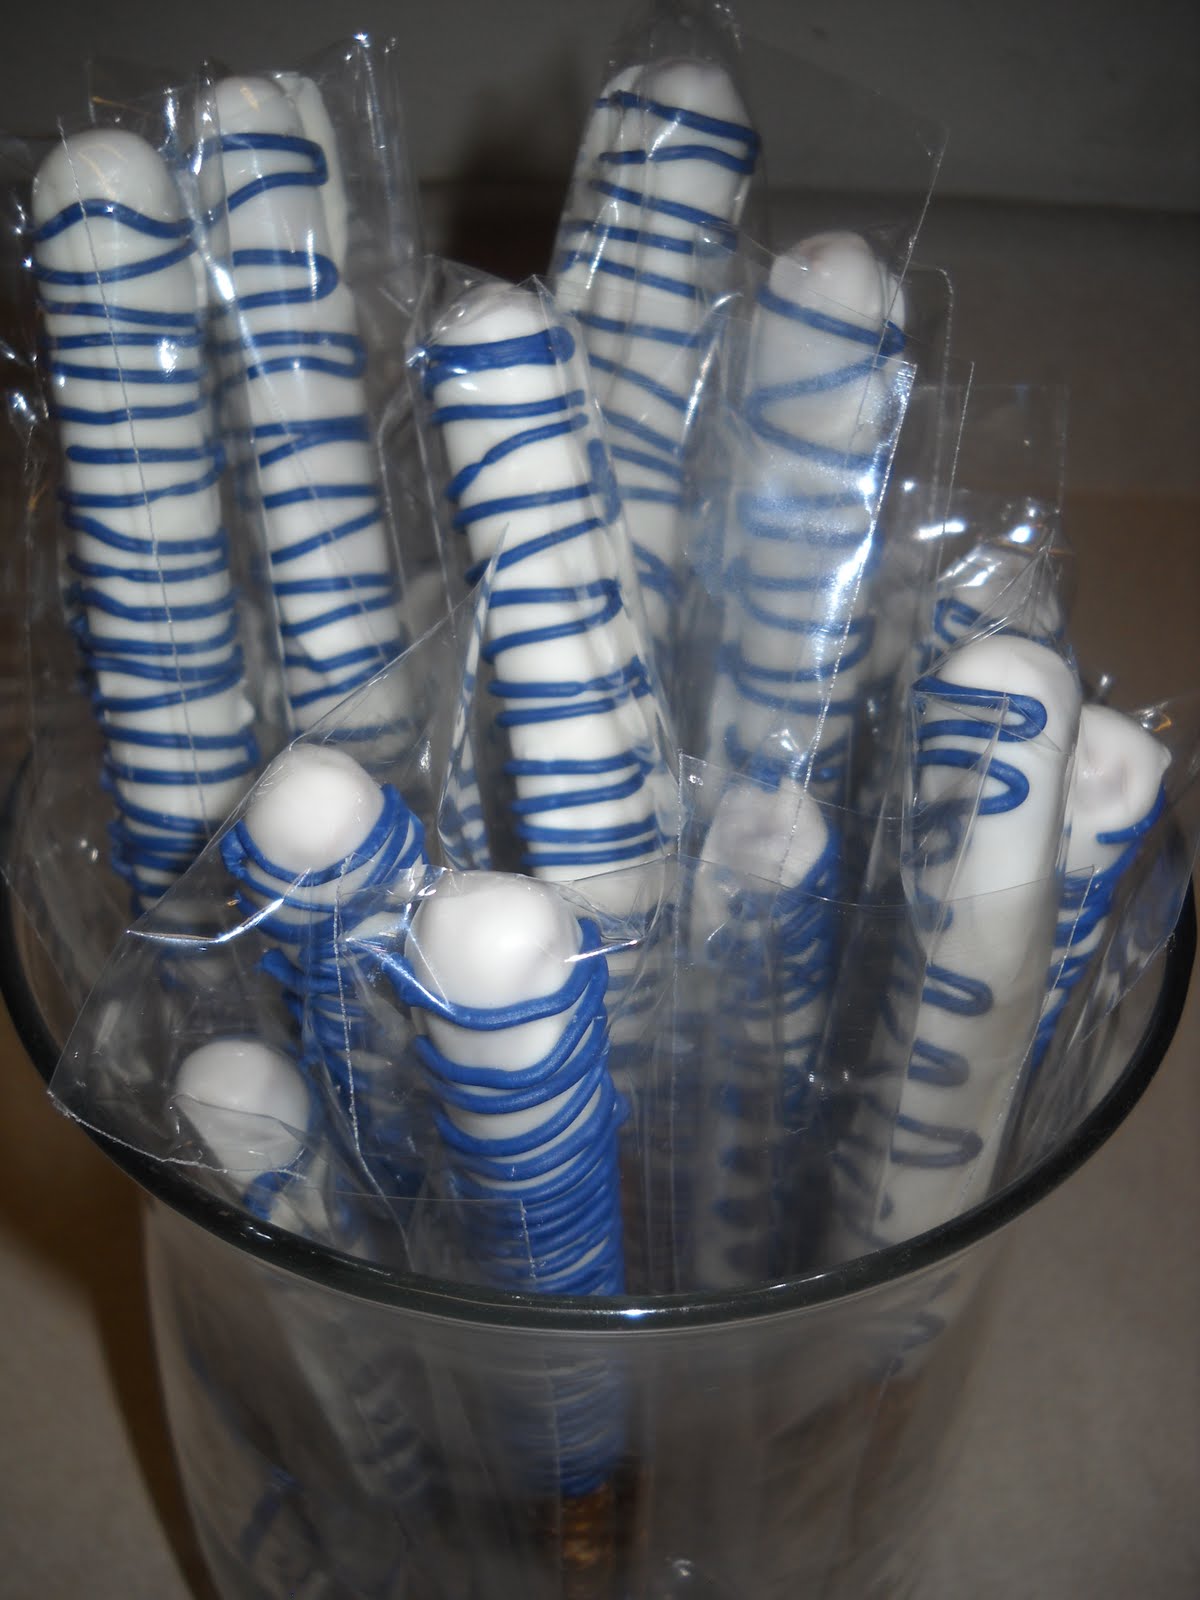
Pretzel sticks and Marshmallow pops - Basketball Fundraiser

My co-worker asked me to make these for her daughter's basketball team fundraiser. She really loves the candy coated pretzels and marshmallows. She said they were a huge hit and everyone was going bananas over them.
I made some new business cards also. My other ones I designed, didn't seem to catch my attention anymore. So I wanted something fresher and more clean lined.
Here is some of the packaging before going to deliver the treats.
 
 Here is a closer look and the business cards and the thank you tags I designed to go along with the team colors.

Will be making lots of Easter treats and if you are local, make sure you stay tuned!!

Monday, April 11, 2011

A few sweet treats and a WINNER!

We Have a winner!!!

And the winner of the $20.00 discount to CSN Stores is.......(Drum Roll).....
 Comment # 6 - HEATHER!! She said: I'm your newest fan on facebook! :) 
Heather, Email me at sweetmemoriescakery@hotmail.com so I can get your contact information and send over your discount code!


 -------------------------------------------------------------------------------------------------------------

 Happy Monday! I hope everyone had an eventful weekend! Mine was quite busy. Making pretzel sticks and other sweet treats along with some hair bows for my daughter and my friend's little girl. I will share those pictures with you later this week. I'm not sure if I will go as far as selling them, just testing out some other talents :-) 

I made these pretzel sticks for my co-workers. I bought some into work for St. Patrick's day and they wanted more and placed an order. One of them is truly in LOVE with black and white/zebra print. So I had to make her some black and white ones. The other, wanted royal blue and white - her daughter's team colors for basketball.


I will be making lots more of these more toward the end of the week and next week for Easter. You can place an order with me and pick them up (if you are local). I will also be doing some contests on facebook and you can get some at a great price! Stay tuned!

Tuesday, April 5, 2011

Time for a GIVEAWAY!!

A little while ago, I was contacted by CSN stores to see if I wanted to offer giveaway on my blog for my readers. Of course I would like to offer my readers a giveaway! They have everything you can imagine! They sell all that I could be interested in. I browsed over their LCD TV stands in hopes of finding a new one for our living room and found so much more stuff I wanted to buy!

CSN Stores is offering a $20 discount code to one lucky reader!

 I love their Cooking Tools and Gadgets section. Of course, what baker do you know would not LOVE that section. I looked up their price on my stand mixer and theirs is a lot CHEAPER! Their prices are amazing. Wouldn't you love to get a discount on this stand mixer - just like mine?


RULES:
- Enter by noon (EST) Sunday April 10th
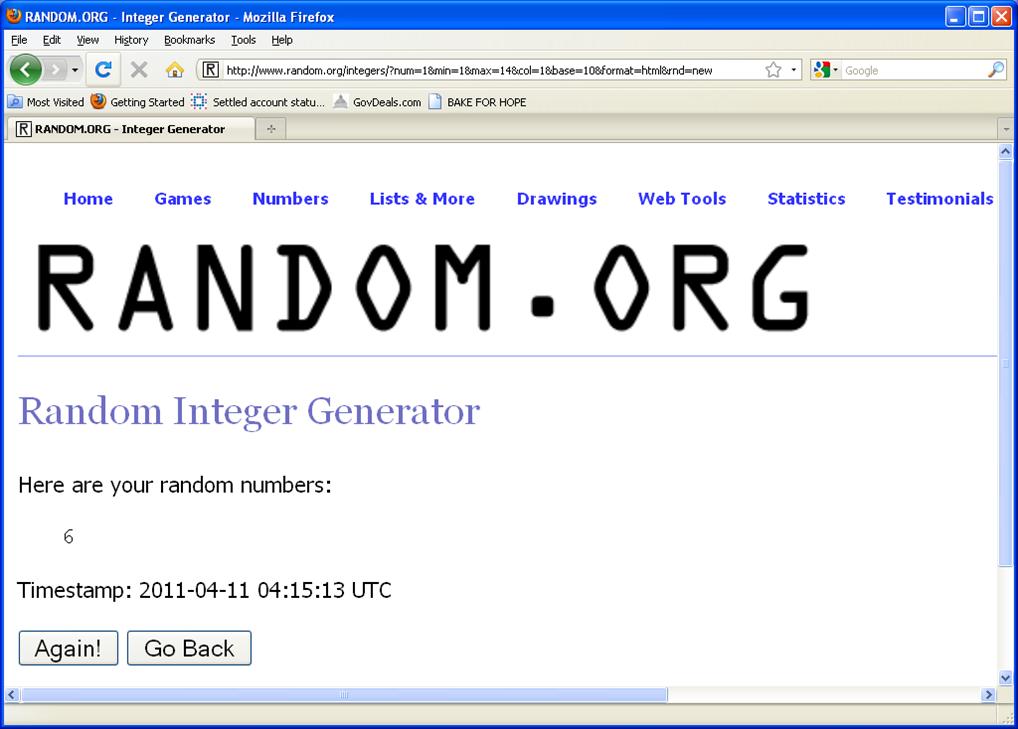
- winner will be chosen Monday morning using random.org

To Enter, Visit CSN stores. Come back and tell me what you would buy using the $20 discount.

If you would like to stay within the lower price range, here are some of my picks for aprons. I absolutely  LOVE aprons. They add such color and sass to your baking in the kitchen.


To receive a second entry, become a fan of my facebook page
and leave a second comment saying that you are now a fan. And if you already "LOVE" me comment saying that you are a fan already!
GOOD LUCK!

Thursday, March 31, 2011

German Chocolate Cake using cupcake recipe

Hey guys! I hope everyone is having a great week. Today was such a yucky day here in South Carolina! Rain, rain and more rain! Hopefully tomorrow will be better. Well it will be better because it is my Friday at my preschool job. I took Friday off to do the 10k bridge run here in Mt. Pleasant, but the training did not work out so well. Actually, I did not train at ALL! So I am gonna spend my day with my beautiful sweet daughter! I will be thrilled to be a SAHM again, even if it is just for a day! 

I am so sorry this is the week's first post. I think I have come to the realization that as long as I am working full time at the preschool, I won't be able to post every day. There is just not enough time in my day! I was trying to post this last night and guess what happened? I found myself falling asleep at the desk. I was knocked out!! Woke up to look at the computer screen and was trying to pry my eyes open. LOL, just wasn't working! You guys still love me right?! I do promise to keep bringing you recipes and keep you updated on different happenings of Sweet Memories!


I made this cake for my husband's birthday.  Last year I made THESE cupcakes for Father's Day. Every time they are delicious. I have developed a love for coconut. It was the texture that I had to get over and now I really like it! The chocolate frosting added was such a nice touch! Though, I could just sit and eat a bowl of the coconut filling by itself........
German Chocolate Cake Recipe

 Ingredients:

12 tablespoons (1 1/2 sticks) unsalted butter at room temperature
2/3 cup granulated sugar
2/3 cup light brown sugar, lightly packed
2 extra-large eggs at room temperature
2 teaspoons pure vanilla extract
1 cup buttermilk at room temperature
1/2 cup sour cream at room temperature
2 tablespoons freshly brewed coffee
1 3/4 cups all-purpose flour
1 cup unsweetened cocoa powder (I used hershey's dark chocolate)
1 1/2 teaspoons baking soda
1/2 teaspoon kosher salt

Directions:

1. Preheat the oven to 350 degrees. Spray your cake pans with Easy Off - this helps the cake come out the pan easily. You can also line your pan with parchment paper or just do it the old fashioned way of greasing and flouring.

2. In the bowl of an electric mixer fitted with a paddle attachment, cream the butter and both sugars on high speed until light and fluffy, approximately 5 minutes. Lower the speed to medium, add the eggs one at a time, then add the vanilla and mix well. In a separate bowl, whisk together the buttermilk, sour cream, and coffee. In another bowl, sift together the flour, cocoa powder, baking soda, and salt. On low speed, add the buttermilk mixture and the flour mixture alternately in thirds, beginning with the buttermilk mixture and ending with the flour mixture. Mix only until blended. Fold the batter with a rubber spatula to be sure it's completely blended.

3. Divide the batter between 2 cake pans. Bake on the middle rack of the oven for 25-35 minutes, or until a toothpick comes out clean.  Remove from the pans, transfer to a cooling rack and allow to cool completely before frosting.


GERMAN CHOCOLATE FROSTING


Ingredients:

12 tablespoons (1 1/2 sticks) unsalted butter
1 12-ounce can evaporated milk 1 1/4 cups sugar
5 extra-large egg yolks, lightly beaten
1 teaspoon pure almond extract
1 teaspoon pure vanilla extract
1/2 teaspoon kosher salt
2 cups sweetened flaked coconut
1 cup sliced blanched almonds, toasted
1 cup chopped pecans

Directions:

1. Melt the butter in a large saucepan over medium heat. Stir in the milk, sugar, egg yolks, almond extract, vanilla extract, and salt with a wooden spoon. Bring the mixture to a simmer over medium heat, stirring constantly with a wooden spoon. Lower the heat to low and simmer for about 5 minutes until the mixture thickens a little and coats the back of the spoon. Don't allow it to boil! If the mixture gets lumpy, turn off the heat and beat it vigorously with a whisk.

2. Off the heat, add the coconut, almonds, and pecans and allow to cool about 1 hour. Frost the cake with a dinner knife or metal spatula

Adapted from Ina Garten

LinkWithin

Related Posts with Thumbnails